.png)
Crafting the Perfect Handmade Bowl: A Recent Commission Journey
- tadwick2014
- Jun 3
- 2 min read

Creating a handmade bowl is more than shaping clay; it’s about capturing a vision, blending skill with creativity, and delivering a piece that holds meaning for its owner. Recently, I completed a special commission that challenged my craftsmanship and inspired me to share the entire process - from initial concept to final touches. This post walks you through the journey of crafting that bowl, highlighting the techniques, decisions, and care that go into making a truly unique piece.
Understanding the Client
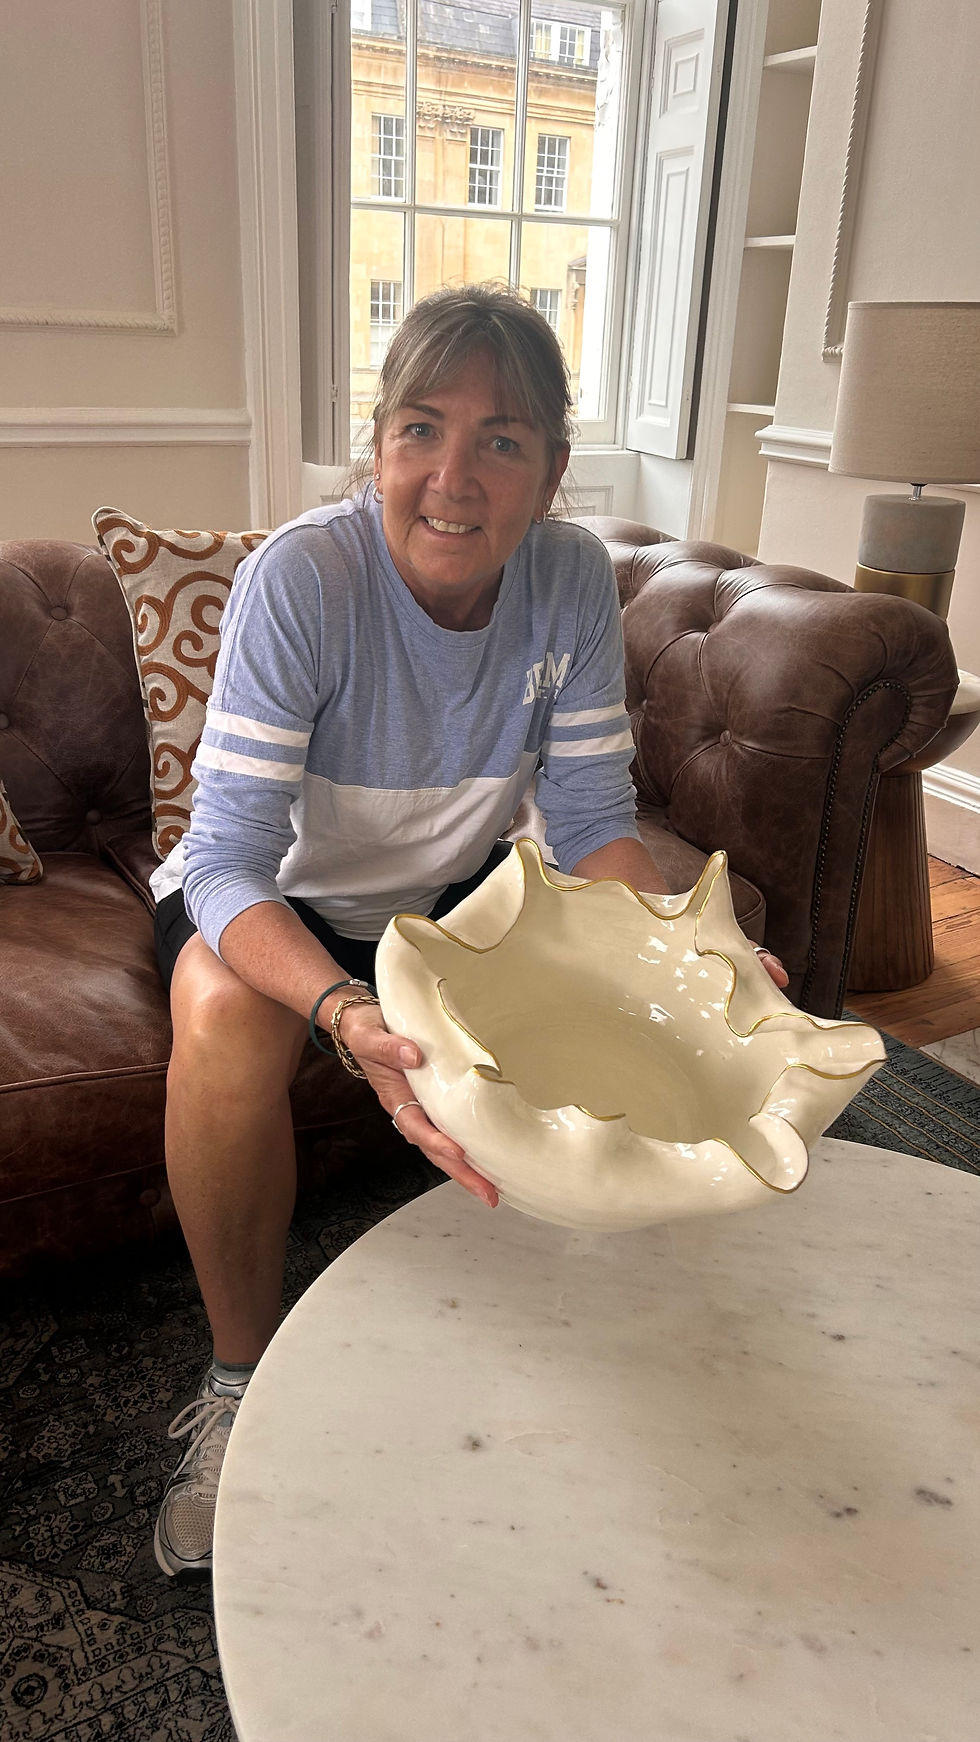
Every commission starts with a conversation. This bowl was inspired by a client who wanted something functional yet artistic, a piece that could serve daily but also stand out as a centerpiece. They showed me around their newly refurbished apartment which was full of gorgeous natural stone and marble with natural tones blending beautifully with the natural light coming in through the vast Georgian windows. This inspired me to think about a very neutral coloured bowl but something with detail and interest.
The build
I started by rolling a slab and cutting the round base. I then prepared some chunky coils and kept them in a bucket with a lid on to prevent drying out. Each layer of coils was added by hand and carefully smoothed out.
Shaping the Bowl as it grew
Wanting the bowl to evolve as it grew, I allowed the edges to become uneaven and to flare out. This gave me the chance to thin the edges more and gradually wave the edges, carefully adding the next, smaller coil layer until the bowl felt big enough. I then continued to refine the folds and thin the waves I had created. I was attempting to capture the natural beauty of a shell with it's wavy, crinkled edges.

Drying and Trimming
After finishing the main bowl, it rested until reaching leather-hard stage - firm but still workable. At this point, I trimmed excess clay from the base to refine the foot and reduce weight. Trimming also helps the bowl sit evenly on flat surfaces. I used a scraping tool to thin the walls and even out the surface, whilst still retaining the hand made texture.
The bowl dried slowly for about a week, conscious not to dry it too quickly in case it cracked. Then, having previously forgotten to measure the width of my kiln(!), I was amazed that it just fit - with about two cm to spare!
The bisque firing was overnight and another day to cool completely before lifting out and beginning the glazing process.
Applying the Glaze
I always planned to keep the bowl colourless, so I applied two coats of transparent glaze, allowing time to dry completely before lifting back into the kiln for the glaze firing (1250°C). Again overnight and again, leaving to cool in the kiln for a full day before lifting the lid.
Finally, I began the detailed job of painting gold leaf around the rim. This was inspired by previous pots I had made with a similar technique. The gold rim just lifts the shape and highlights the wavy edges of the bowl without distracting from the beautiful organic shape.


Comments